Restoring an old boat can be a rewarding project, but certain details—like the gunwale rubber—play a crucial role in both function and finish. Over time, the ridges that hold the gunwale rubber can crack, break, or wear away, making it difficult to install new rubber securely.
If you’re working on a classic Seafarer or similar boat, this guide will walk you through how to repair and rebuild damaged gunwale ridges using epoxy paste and basic tools.
Why Gunwale Ridges Matter
The ridges along your boat’s gunwale are designed to grip the rubber firmly. If they’re uneven, cracked, or missing sections, the new rubber won’t sit properly. Restoring these ridges ensures a tight, clean fit, which not only improves appearance but also protects your hull from knocks and scrapes.
Tools & Materials You’ll Need
- Flap disc or sanding pad
- Masking tape
- Epoxy resin + hardener
- Thickening filler (colloidal silica or similar)
- Toothed scraper or shaped spreader
- Sandpaper (medium to fine grit)
- Acetone or solvent cleaner
- Paint or UV-resistant sealant
- New gunwale rubber
- Stainless screws or rivets (optional)
📝 Step-by-Step Guide
1. Inspect & Mark
Walk around the entire gunwale, marking areas where the ridge is cracked, missing, or damaged. Decide which sections can be left intact and which need rebuilding.
2. Grind & Clean
Using a flap disc or sanding pad, carefully grind away loose or cracked gelcoat and fiberglass until you reach solid material. Clean the surface with acetone to remove dust and grease.
3. Mask & Shape
Apply masking tape on either side of the ridge area. This will keep your epoxy lines neat. Prepare a toothed scraper to help shape the epoxy into a consistent ridge profile.
4. Apply Thickened Epoxy
Mix your epoxy resin and hardener, then thicken it to a peanut-butter consistency. Apply it along the damaged sections, shaping it carefully to match the original ridge. Work in short sections to maintain control.
5. Cure & Sand
Allow the epoxy to fully cure, then remove masking tape. Sand lightly to smooth out any rough edges and ensure the ridge is even. Feather where needed for a clean finish.
6. Optional: Add a Support Strip
For larger missing sections, attach a thin PVC or hardwood strip first, then fair it in with epoxy. This gives a stronger and straighter base for the rubber.
7. Seal for UV Protection
Epoxy can degrade in sunlight, so coat the rebuilt ridge with primer, paint, or a UV-stable sealant.
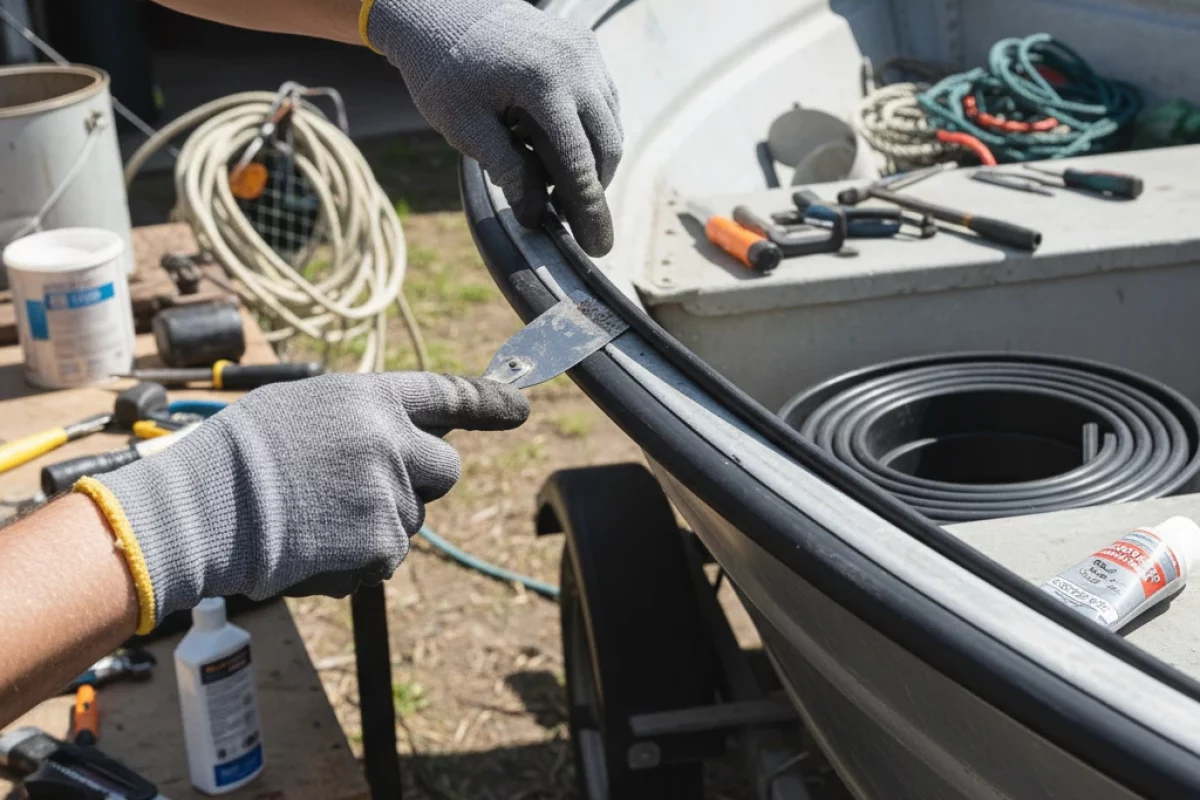
8. Fit the New Gunwale Rubber
Once everything is fully cured and smooth:
- Lubricate with soapy water or silicone spray.
- Slide the rubber on slowly, ensuring it seats well.
- Secure with stainless screws or rivets at key points, especially corners and ends.
Final Thoughts
Restoring the gunwale ridge properly gives your boat a clean, professional finish and ensures your new rubber stays secure for years. With a bit of patience and the right materials, this is a straightforward DIY job even for intermediate restorers.